

Set up your business2 min
Set up your business in Settings
Your profile, branches, opening hours, booking rules, tax, payments, WhatsApp and team options, all in one place.
Settings is at the bottom of the menu. Go through it once when you start, and come back whenever your hours, prices or rules change.
Step by step
- 1Step 1
Open Settings
Click Settings at the bottom of the menu.
- 2Step 2
Pick your language
Under General, choose whether you work in English or Arabic.
- 3Step 3
Fill in your business profile
Add your logo, the banner for your booking page, your business name, time zone, country, currency and contact details.
- 4Step 4
Share your booking link
The booking link is the address clients use to book with you. Add a booking page note for things like holiday hours or price changes.
- 5Step 5
Add your branches
Branches lists your locations and their addresses. Add a branch whenever you open a new one.
- 6Step 6
Set your opening hours
In Booking and Scheduling, set the hours for each day. Clients can only book inside these hours.
- 7Step 7
Choose your booking policies
Set how much notice you need, how far ahead clients can book, and whether they can cancel or reschedule themselves, up to a cut-off before the appointment.
- 8Step 8
Turn on the waiting list
Choose how long a freed-up spot is held for the next client in line.
- 9Step 9
Decide what clients and workers see
Pick how clients verify their booking, hide prices on the booking page if you prefer, and hide client contact details from your workers.
- 10Step 10
Add your tax details
In Tax and Invoicing, enter your tax registration and national address, the VAT rate, the invoice number prefix, whether your prices include VAT, and whether invoices go out automatically.
- 11Step 11
Connect e-invoicing
Once connected, every invoice is stamped with your certificate and reported to the tax authority automatically.
- 12Step 12
Connect online payments
In Payments, connect your gateway, then choose whether clients pay at the visit, can pay online, or must pay to book.
- 13Step 13
Connect WhatsApp and reminders
In Communication and AI, connect your WhatsApp Business number so the AI assistant can answer your clients. Then choose how reminders are sent, and how long before the appointment.
- 14Step 14
Ask for Google reviews
Turn on review requests, and after each visit clients are asked to rate you on Google.
- 15Step 15
Connect your Meta pixel
In Marketing, connect your pixel so every confirmed booking is reported to your ad account.
- 16Step 16
Set up your workforce
In Workforce, turn on check-in tracking for your team and choose what workers can do from the mobile app.
Questions
Why can’t clients book at a certain time?
Check your opening hours in Booking and Scheduling, and the notice period in Booking policies. Also check that a team member who offers the service is working then: see Team members.
Do I have to connect online payments?
No. Clients can always pay at the visit. Connect a gateway only if you want online payment or deposits to book.
Related guides
 1:50
1:50Set up your business2 min
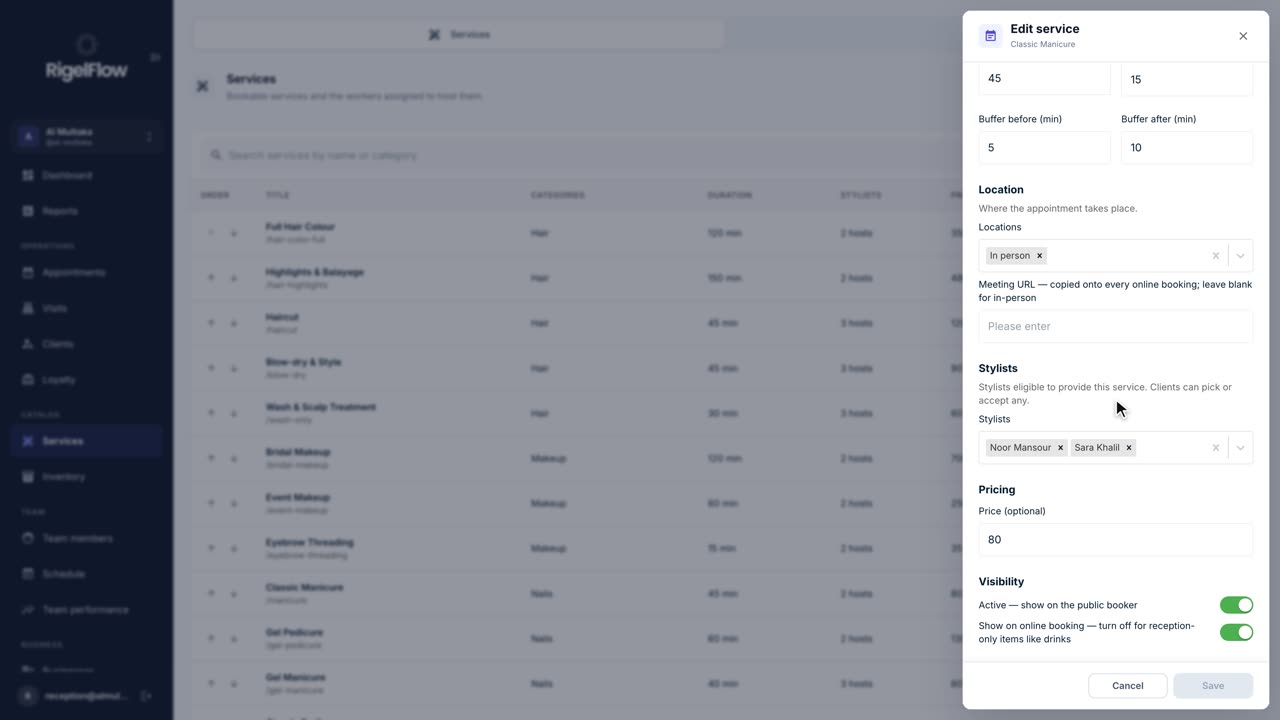
Add and manage your services
Set up everything clients can book: prices, durations, who offers each service, categories, treatment order and add-ons.
Watch the guide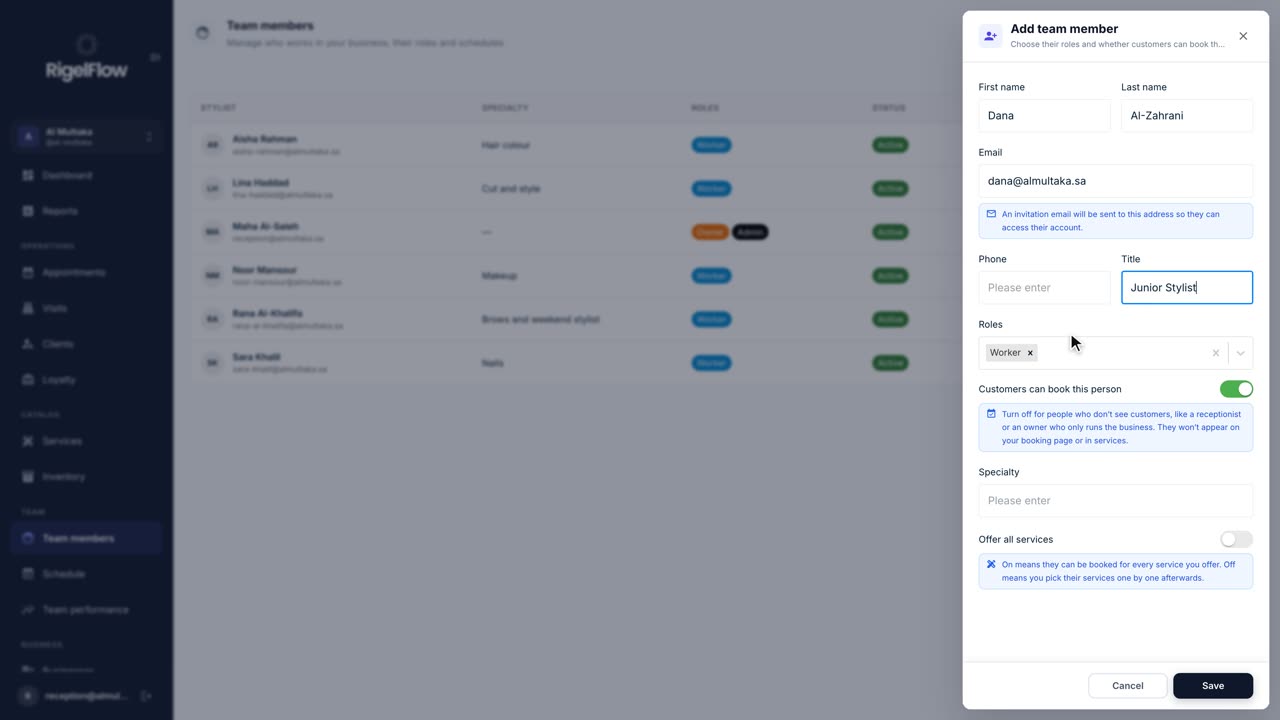 1:03
1:03Set up your business1 min
Add team members and set their hours
Invite your staff, choose their roles, and set the working hours and time off that decide when clients can book them.
Watch the guide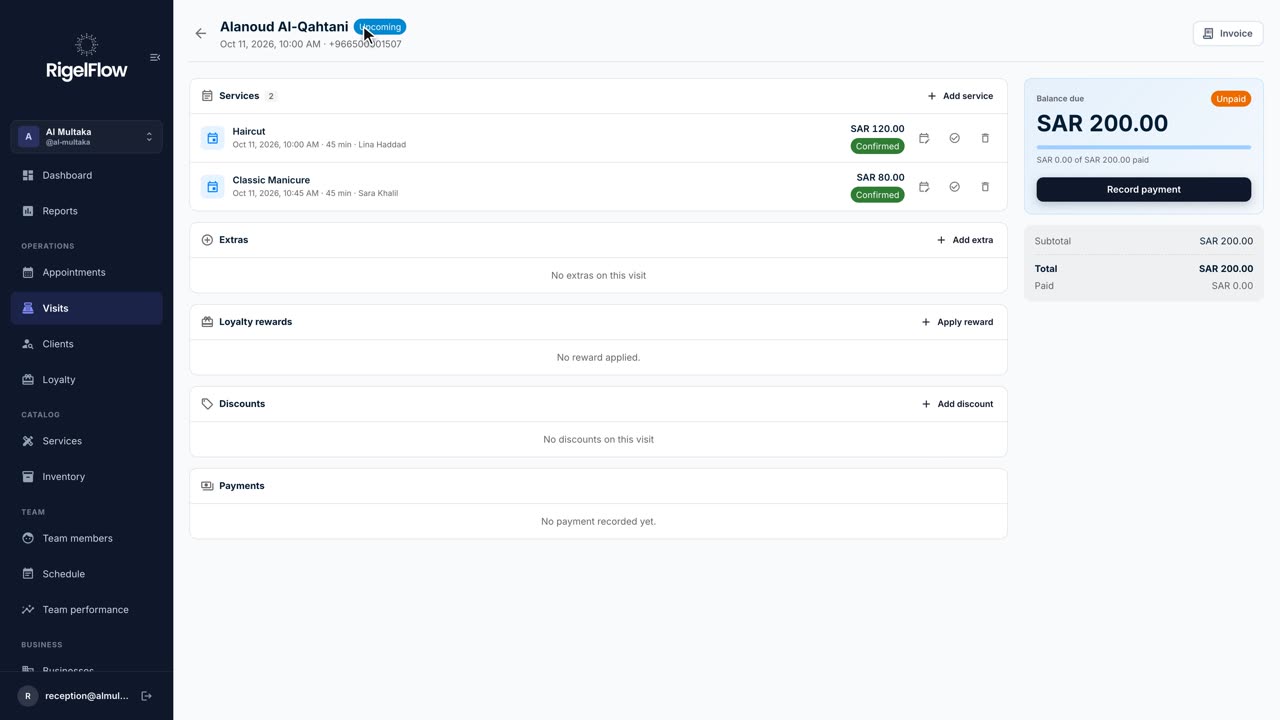 2:46
2:46Visits and payments3 min
Take payment, invoice and refund a visit
Add services and discounts, record full or part payments, issue a ZATCA tax invoice, and refund with a credit note.
Watch the guide